Connect Handhelds to Your Computer
You can connect a Trimble® Nomad® or Trimble® Ranger™ handheld to your computer through a communication cradle. Before connecting your handhelds, make sure there is at least one handheld created and a reader assigned to it so you know the reader ID. See Create or Edit a Handheld for more information.
Before you connect your handheld, see the important information regarding the CAB

What You Can See and Do in This Window
Click a link to display the related information or step-by-step procedure.
| – | |
|
– |
|
|
– |
Gather the Components
If you are using a router to link cradles to exchange information with more than one handheld at a time, verify that you have:
- One or more handhelds.
- One communication cradle for each handheld.
- One AC adapter / battery charger cable for each cradle.
- One RJ-45 Ethernet cable for each communication cradle.
- One RJ-45 Ethernet cable to connect the router to the PC.
- One router / switch with one AC power supply cable.
- Connecting to the Host Computer and Power Supply.
Connect to the Host Computer and Power Supply
This configuration is for handhelds not connected to a system network. If you are connected to a system network, see the network specialist or your system administrator for assistance.
This section outlines the steps to connect a handheld to your computer through a communication cradle.
The procedures in this section describe how to connect the handheld to the host computer so that it can exchange information with the host. The procedures also describe how to connect a power supply to the communications cradle so that you can recharge the battery.
Connect the Router, Handheld Cradle, and Power Supplies
Make sure that you have all the equipment you need before beginning this connection procedure.
- With the host computer OFF, connect the power supply to the router.
- Leaving the far left port empty, connect one end of the RJ-45 Ethernet cable into one of the four slots in the router.
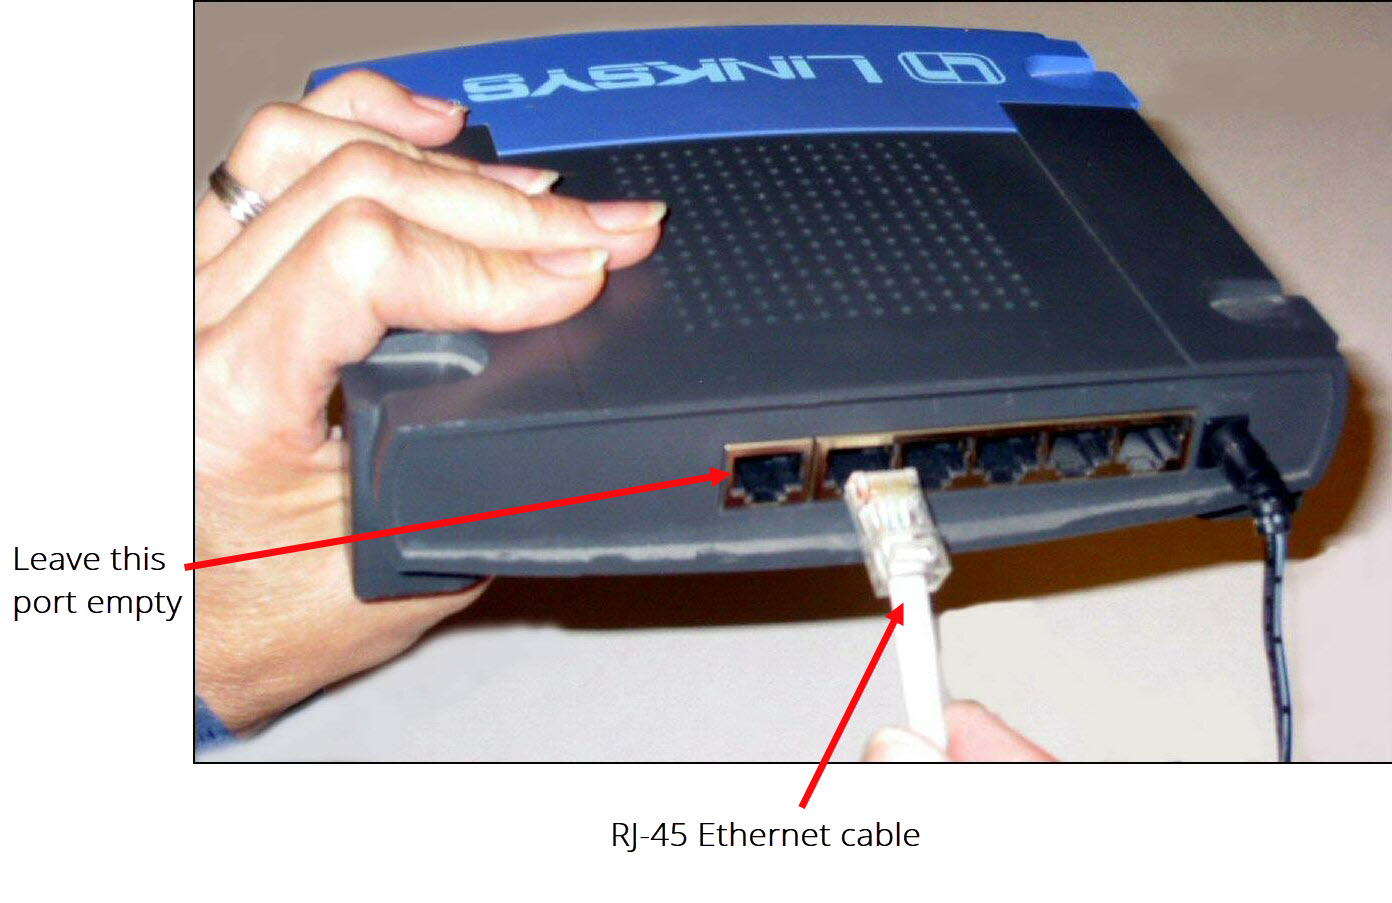
Nomad Example
Ranger Example
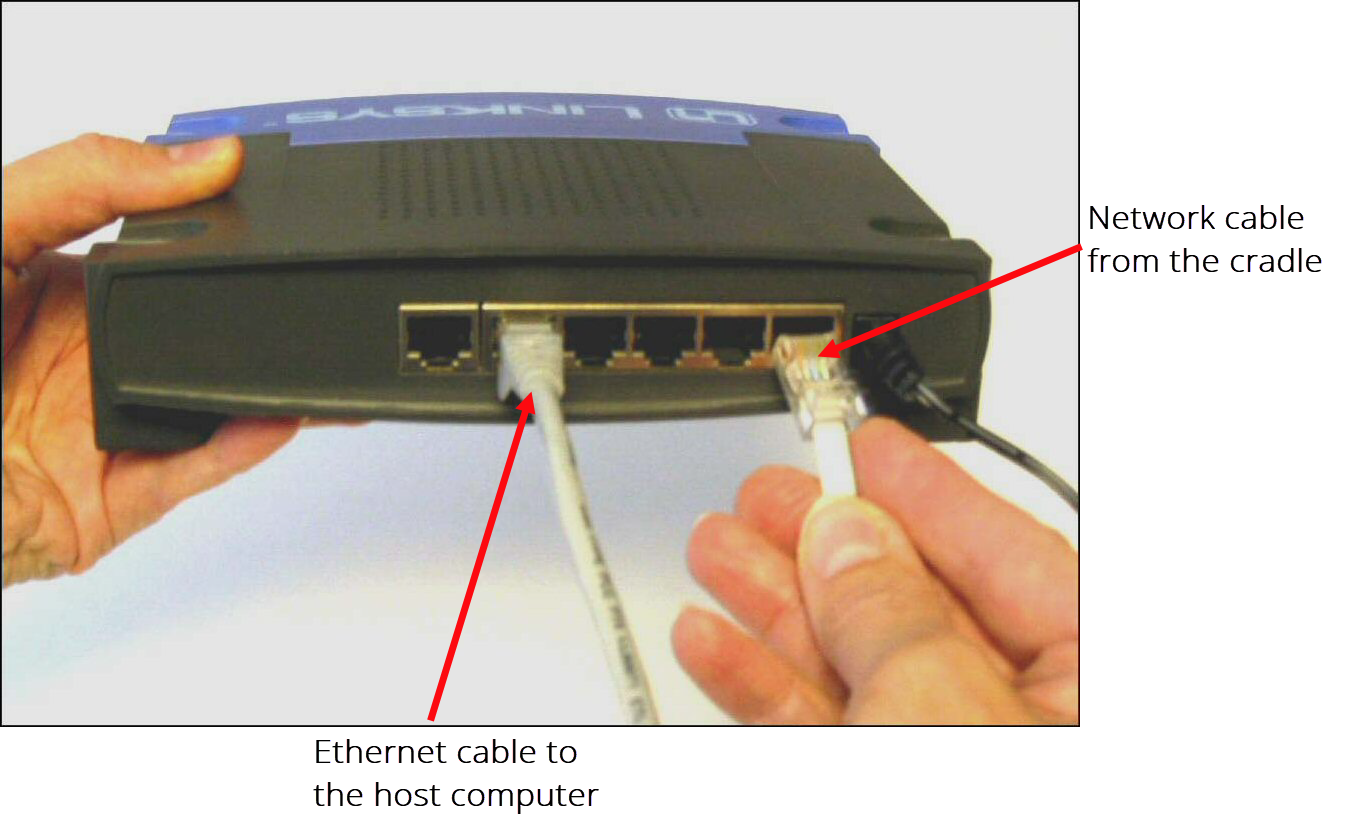
- Connect the other end of the Ethernet cable to the host computer.
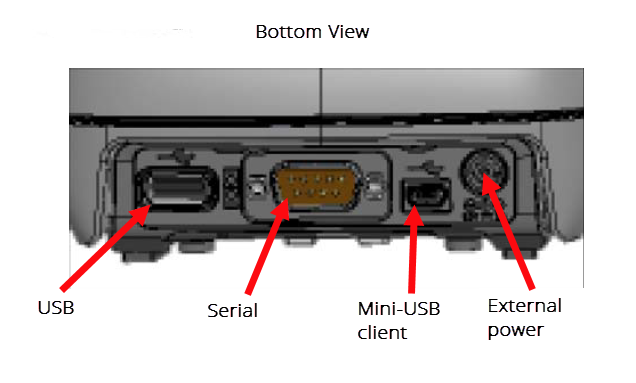
- Push the single-hole connector of the 110V AC adapter / battery charger onto the single-prong connector on the back of the communication cradle.
- Connect the other end of the AC adapter / battery charger into a power source.
- With an additional Ethernet cable, insert one of its connectors into the back of the cradle and the other into the back of the router.
- Connect the network cable to the single router.
Configure the Host Computer
-
On the host computer, click Start.
- Type CMD and press Enter.
A DOS window appears.
- Type ipconfig and press Enter.
- Write down the IP address.
- Type exit and press Enter to close the DOS window.
Configure the Handheld
Configure the Nomad or Ranger with the handheld in the cradle and connected to the host computer.
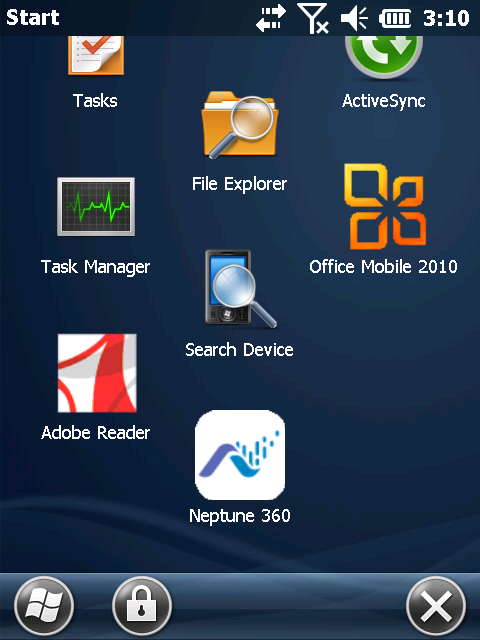
- On the handheld, press
 in the bottom left of the screen.
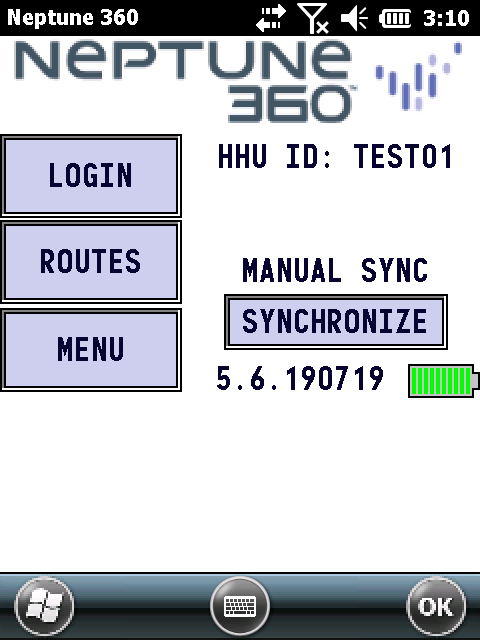
The system displays the Main Windows screen with either a Neptune® 360™ icon if the latest CAB file is installed, or an N_SIGHT™ R900® icon if an older CAB file is installed.
If the meter reading app (either 360 or N_SIGHT) is installed on the handheld, a CAB file was used for the installation. The CAB file for N_SIGHT is simply an older version.
- Press either Neptune 360 or N_SIGHT.
The system displays either the Neptune 360 Login screen or the N_SIGHT R900 Login screen.
- On the handheld, press Menu > Admin, and then press either Reset Handheld or Force Server.
- In the Password field, type bubba.
- Enter the following in the fields indicated:
- HHU ID – use the handheld ID you entered when you created a handheld.
- Server – IP address of the PC that you previously wrote down. See Configure the Host Computer.
- Port – 25101.
The handheld is reset, and the Login screen is displayed.
